Getting Started with Niagara - Creating Your First Particle in Unreal
Hello everyone! Jonathan here.
Production on Xenex may be winding down, but I wanted to take the opportunity to discuss one last portion of development with you that I haven’t had the opportunity to talk about yet: particles and VFX! I know a lot of people shared an interest in Niagara systems and more complicated materials, so I wanted to create a simple tutorial to make your first effects in Unreal using some of the effects from our game as examples. Let’s dive in!

Making a simple particle – Impact Effect
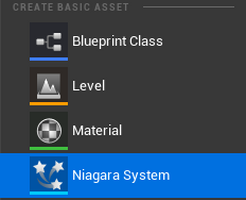
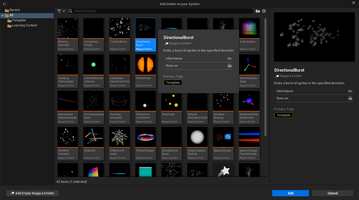
1. First off, let’s create a new Niagara system and choose the “Directional Burst” template.

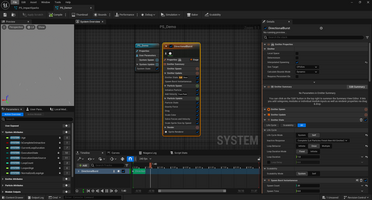
Then give it a name and double-click to open it. You should now be looking at a screen like this:

The particle isn’t that impressive right now, but let’s start making changes to the particle node to suit our needs:
2. First let’s go to “Spawn Burst Instantaneous” and change the spawn count to 20.
3. Then let’s change “Lifetime Min” and “Lifetime Max” to 1.0 and 3.0 respectively under the “Initialize Particle” section.
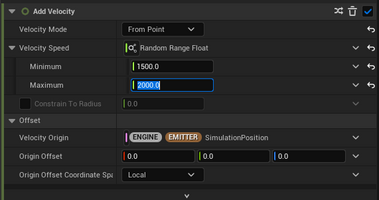
4. Next let’s go to the “Add Velocity” section and set it to “from Point” then change the minimum to 1500 and the maximum to 2000. We want out effect to feel fast and intense:

5. Next I want to make the particles float and little more so let’s change how much gravity affects it by going to “Gravity Force” and changing the z value to -200.
6. Currently, the particles are traveling too far from the center point. We don’t want to decrease their lifetime so instead we’ll increase the air resistance they feel by going to “Drag” and changing the minimum to 8 and the maximum to 12. This will cause the particles to hang in the air for a moment before disappearing so they will look a bit like hanging embers.
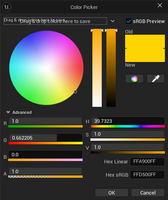
7. Now that we have the basic movement down let’s circle back to adjust the look of the particles themselves starting with their color. Let’s go to “Initialize Particle” and change the color variable. You can select whatever you like but I’m going for a slightly orangish-yellow since I want this to be the impact sparks for a bullet. Here’s the exact values I’ve gone with:

8. Since we’re using drag to control the movement let’s go ahead and change the mass in “Initialize Particle” to “Unset (Mass of 1)”
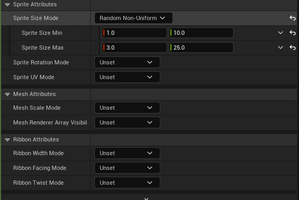
9. While we’re still in the “Initialize Particle” section let’s also change the sprite size min and max for x and y like in the following picture:

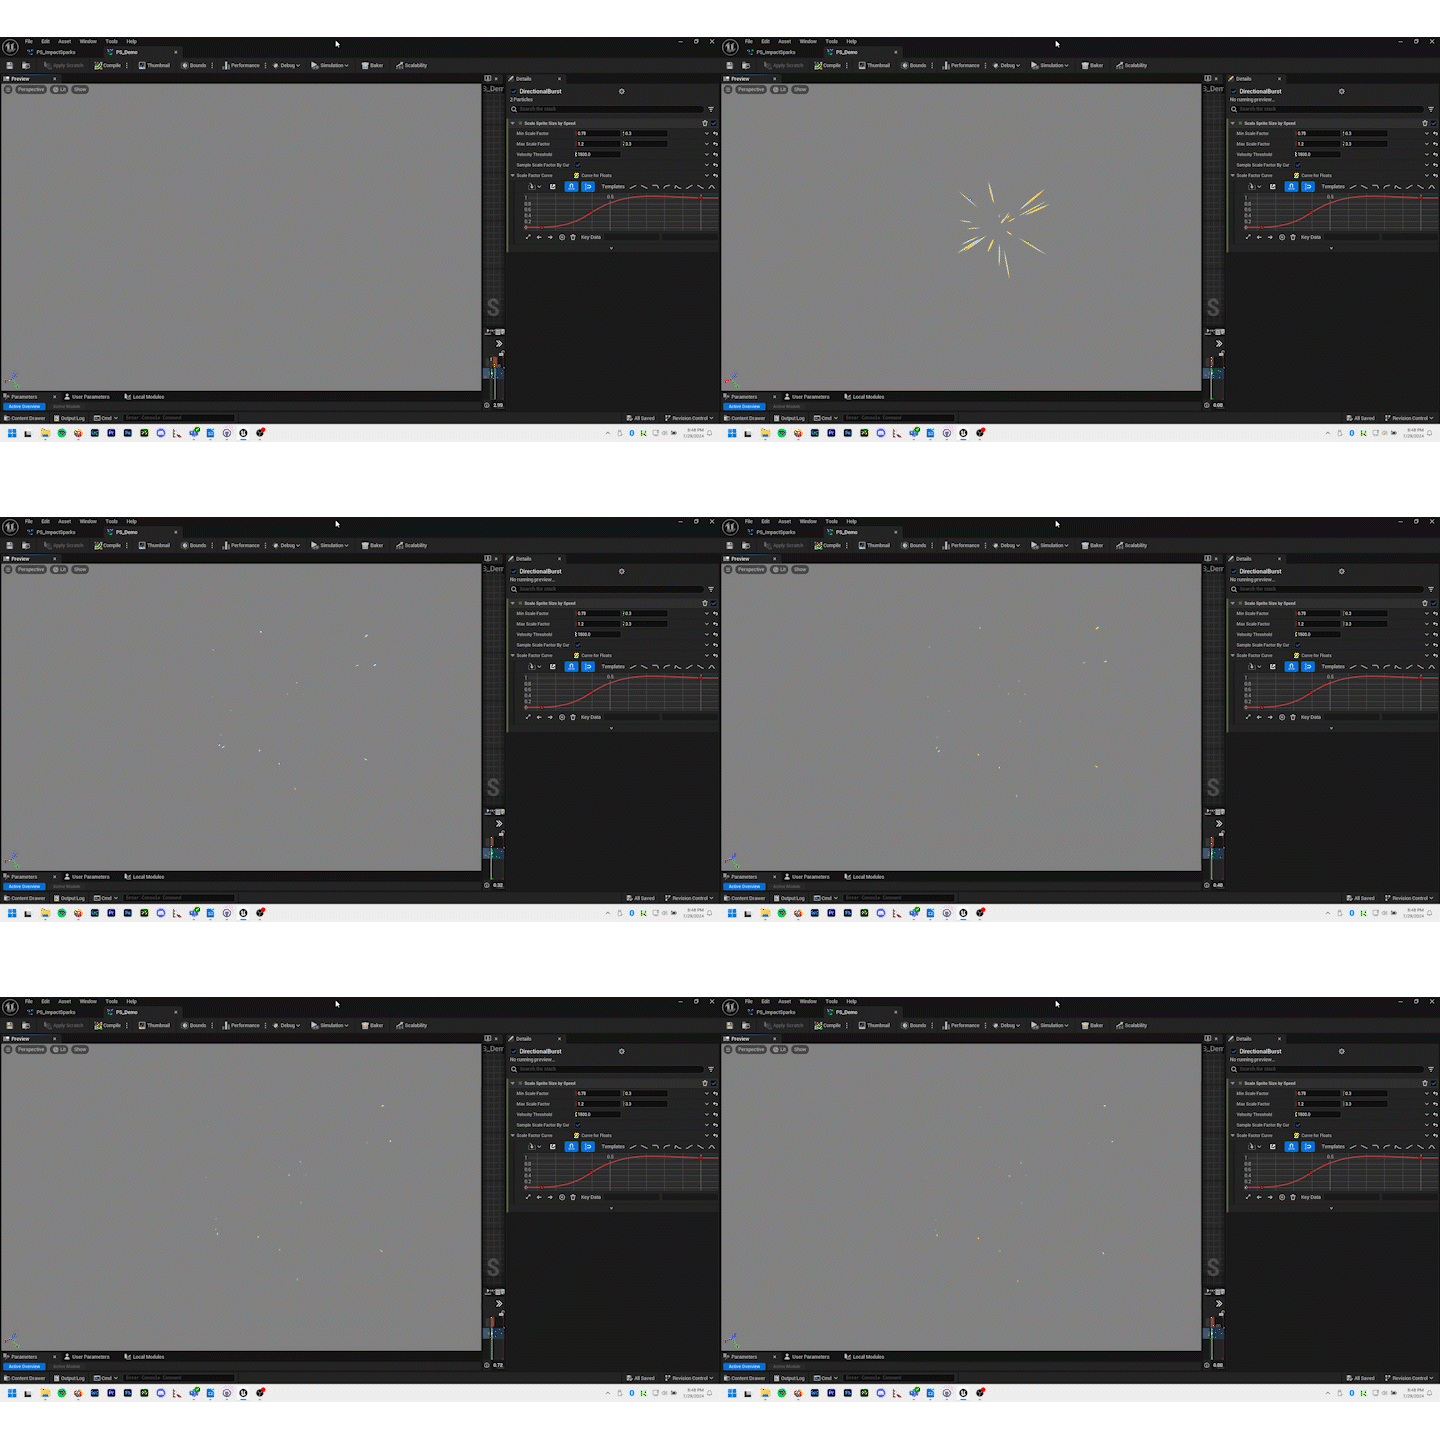
Other features, like scaling the color so they glow less brightly as they age and aligning the sprites to the direction of the velocity, already came set up when we created the Directional Burst node. Let’s take a moment to view our current particle:
It’s on the simple side, but it conveys the meaning we needed: showing where an impact took place. Using some of the basic we learned here we could create other effects as well simple by getting creative with the settings. I created different color variations for each attack (so a stunning attack is blue, etc.). The healing particle is essentially the same but with the velocity reversed and spawned in a spherical shape location. The second part of the heal particle is spawned in a cylindrical shape location and only has velocity on the z-axis.
Thank you for reading and I hope this guide helps you break the ice with Niagara systems!
Get Xenex: Conscientious Culling
Xenex: Conscientious Culling
Team Mariposa, taking flight into new skies.
| Status | In development |
| Authors | jsnoddy, flatheadgames, sabagley, Aura, RyanNMoore, swr.otwell |
| Genre | Strategy |
| Tags | Comedy, Futuristic, Indie, Low-poly, Sci-fi, Short, Singleplayer, Top-Down, Unreal Engine |
| Languages | English |
More posts
- How to tell a story with no story mode!Jul 21, 2024
- Beta Version 1.2 Now Available!Jul 16, 2024
- Animation Blueprinting in UnrealJul 15, 2024
- Let's get animated! - Xenex UpdateJul 09, 2024
- Metasounds and how they can be used in Unreal.Jul 01, 2024
- Xenex Turnbased Combat Game DesignJun 24, 2024
- Data Management with Blueprints in Unreal Engine 5Jun 22, 2024
- Level Design Process Pt. 2Jun 17, 2024
- Xenex Environment Art Progress UpdateJun 10, 2024
Leave a comment
Log in with itch.io to leave a comment.